|
If you work in architecture, chances are that
you'll have 3D modelling somewhere in your production pipeline,
either in design exploration or client presentation. You
may also be wondering what benefits a more-powerful graphics
card can bring to the party. The SketchUp forums in particular
seem to be deluged with "What-is-the-best-graphics-card-for" questions,
this program being a particular resource hog for OpenGL renderings.
If you're a Mac user, the choices are, admittedly,
limited. Apple offers just three graphics card options in
its current Mac Pro line up, starting with the nVidia GeForce
7300 256MB (ships with base configuration, $149 per additional
card) moving on to the ATi X1900
XT 512MB ($249 BTO, $399
upgrade) and topping out with the eye-wateringly expensive
nVidia Quadro FX 4500 512MB (an additional $1649 BTO – at
the time of writing this doesn't seem to be available as
an upgrade on the Apple store). All of these cards are capable
of running two displays simultaneously, with the top two
cards having the ability to run two 30" Cinema Displays
simultaneously. The 7300 can 'only' drive one 30" display,
plus an additional monitor.
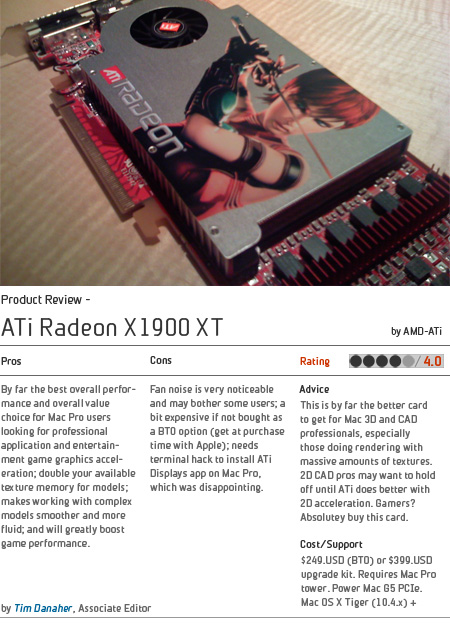
We'll be looking at the ATi X1900 XT, both
in its incarnation direct from Apple (which is destined to
fit into the Mac Pro) and in the third-party card from ATi
that upgrades the PowerMac G5 line (as long as they have
PCI-Express slots).
ATi X1900 XT 512MB - Mac Pro Edition
Installation
The Mac Pro has garnered plaudits for its ease
of upgrading, and this extends – partly – to
the installation of new graphics cards. The blanking plate
with its two captive bolts that hold the PCI cards in place
obviates the need to go scrabbling around for lost screws,
and the double-height first PCI slot accommodates the cooling
fan housing on cards like the X1900 without sacrificing a
further slot.
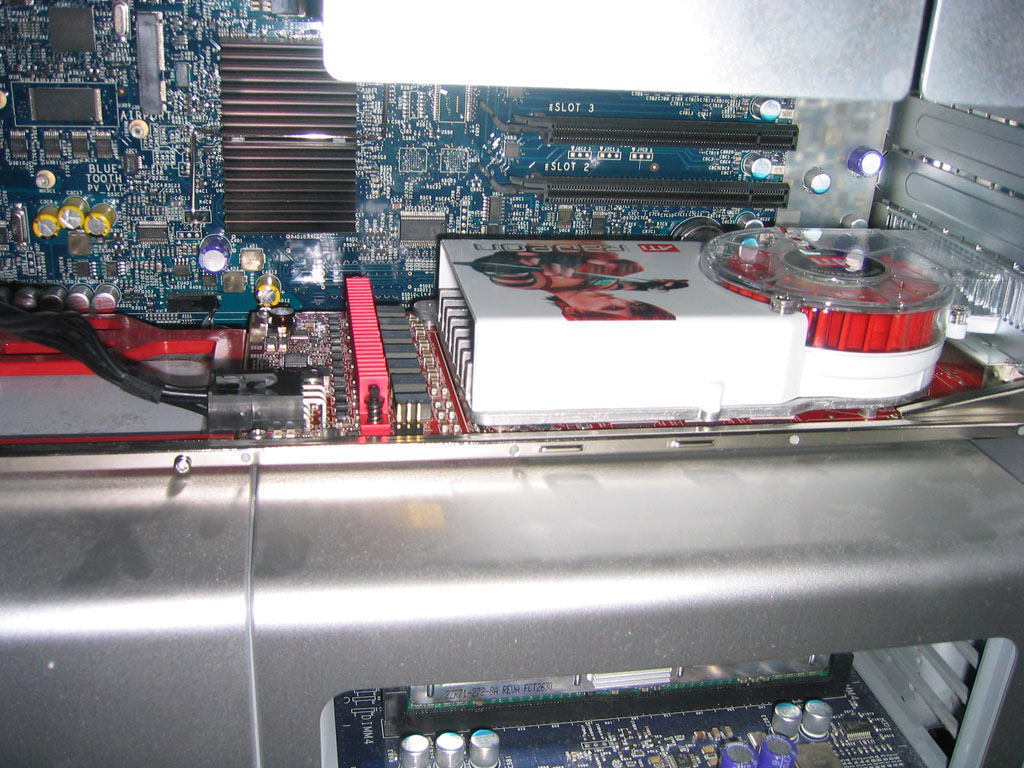
The X1900 certainly is a monster when compared
to the stock GeForce 7300 GT, with its white, cast-metal
fan housing covering the cooling fan and copper heatsinks
needed to keep the temperature of the high-speed GPU within
operating limits. It's also easily a third as long again
as the stock card and the back end must be located in a slot
on the 'rack' in front of the forward fan housing to stop
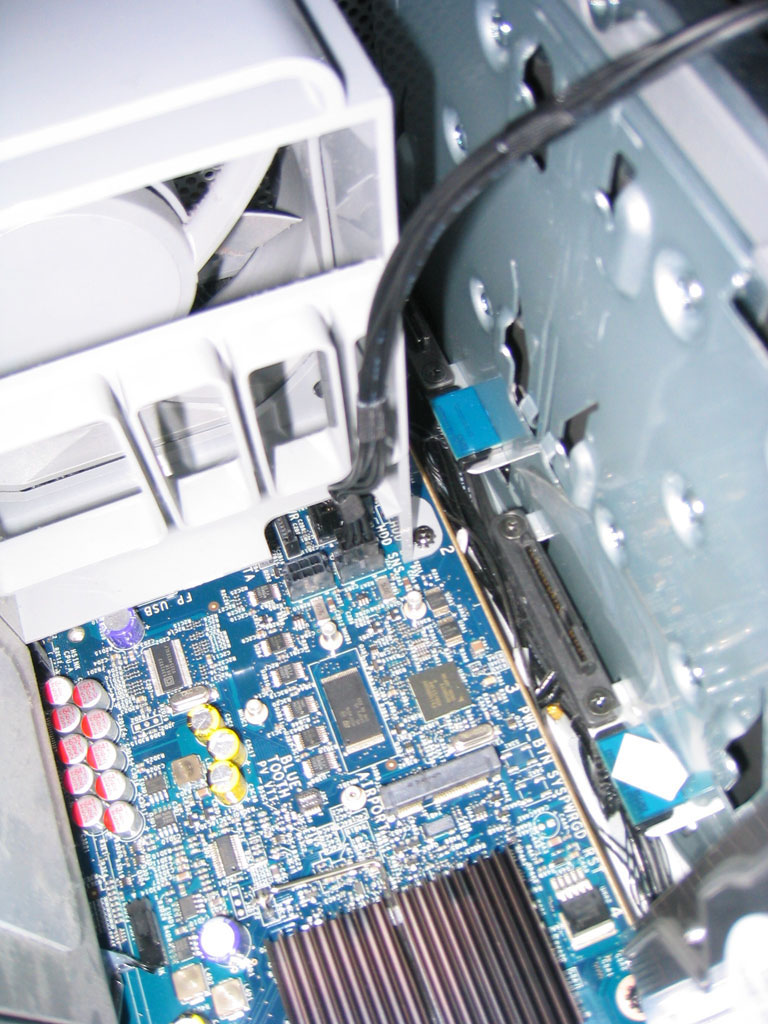
it 'flapping'. In a standard set-up, the card will reside
in the first, double-height, 16x PCI-e slot. Due to its extra
circuitry and cooling fan, the X1900 needs to draw additional
power from the motherboard, and to this end a flying Molex
power lead hangs off the card, which connects with one of
two corresponding sockets on the motherboard. This is where
we encountered the only hassle with the installation: the
motherboard power sockets are quite hard to reach and required
the removal of our Mac Pro's first two hard drives to make
access easier. Even then, the sockets are located just beneath
the front fan housing, making getting a connection very frustrating.
And we mean a good 15 minutes worth of frustration. (see
image 01-02).
|
|
|
|
01
- Installing the X1900
|
02
- X1900 installed |
Solving
the Noise
Once installed, however, it was quickly up
and running, with Mac OS X loading the correct drivers with
no intervention on our part. But the first thing that grabbed
our attention was the noise. Apple has gone to great lengths
to achieve the design goal that the Mac Pro machines be as
silent as possible. Having this card in place completely
destroys that goal. It really is very noisy, even at idle.
A few minutes cursory exploration with SketchUp also showed
that the card had a tendency to ramp up its fan at regular
intervals when orbiting a model, increasing the noise level
even further. We knew that this was a situation that we couldn't
support in a work environment, so we knew we would have to
seek alternate solutions.
We wanted to stress this card in a typical
architectural environment, so we devised a few test files
that we knew would stress the card's ability to handle complex
models with textures. These were based on models in SketchUp
(www.sketchup.com), a 30-second OpenGL camera flythrough
in Cheetah3D (www.cheetah3D.com) and some large scrolling
test in VectorWorks.
Having used ATi cards previously in G5 machines,
we were looking forward to using the ATi Displays Control
Panel, which allows you to set such niceties as full-screen
antialiasing (FSAA) and to fine-tune Performace vs. Quality
settings on an app-by-app basis. Neither nVidia card offers
this option. The trouble was, the Displays.app didn't seem
to be installed on our Mac Pro. A quick trot over to ATi.com
revealed that while ATi Displays.app was available for downoad
in its latest, Universal Binary incarnation (version 4.5.9),
it would only install on G5 machines. We have no idea why
ATi are limiting this set of utilities only to G5 customers,
and shutting out Mac Pro users. True, ATi only sells the
G5 card – the Mac Pro version has to be sourced through
Apple, but still...
However, we found a way around this.
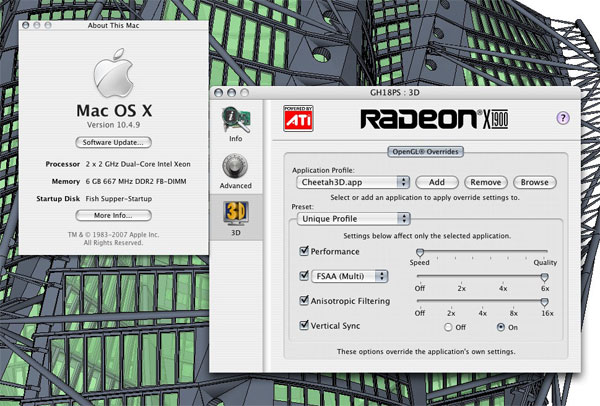
A little bit of judicious searching turned
up a webpage at http://aarongyes.com/guides/atidisplays/
Instructions are here for a small Terminal
hack that will make your Mac Pro report itself as a G5 to
the ATi installer, and ATi Displays.app will then install
normally. (see image 03). After all, if you've just paid
out $250-$400 for the latest and greatest graphics card,
you'd
expect all
the
bells and whistles as well, wouldn't you?
|
|
|
|
03
- ATI Displays app (click on thumbnail)
|
|
next
page > | 1 | 2 | 3 |
addendum |
|